· Select Operations tab then Usage tab.
· Select Add Usage Batch link under Usage Menu.
· Select a Facility, Location and Department.
· Select Add Usage.
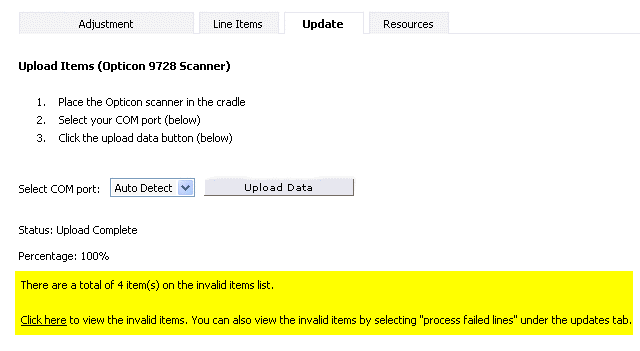
· Select the Update Tab then the Upload Items (Opticon) Link
· Now, put the scanner in the cradle (face down). The scanner will display "Data Sync".
· Click the Upload Data Button.
· All the products on the scanner will be imported into the application.
· At the end of the upload process, you will see a confirmation on the Opticon Scanner asking if you want to delete the database or cancel and keep the products on the scanner. Select the arrow for delete database. This will clear the memory.
· The application will verify every item you scanned to make sure the products exist in the system. If any products are rejected, you will receive the below confirmation. The failed products are listed under the Update Tab / Process Failed Lines Link. You will need to fix the data before the rejected products are added to the order.

· When you’re ready to process the usage, click the Submit.
Click here to see Frequently Asked Questions.